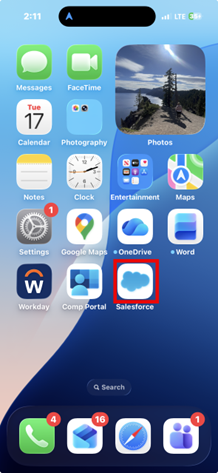
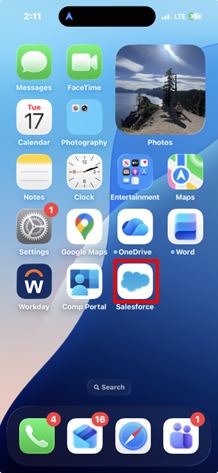
- Open the Salesforce Mobile App
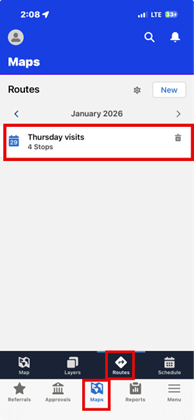
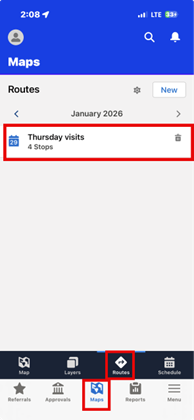
- Select “Maps” on the bottom banner, then “Routes.” Select the saved Route to be visited
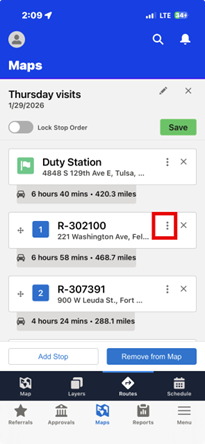
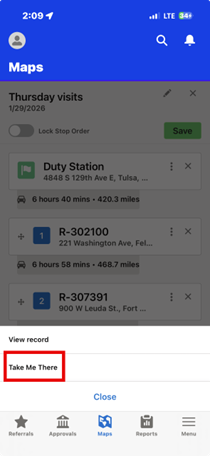
- See the saved Route displayed. To navigate to a location, click the three dots next to the desired location
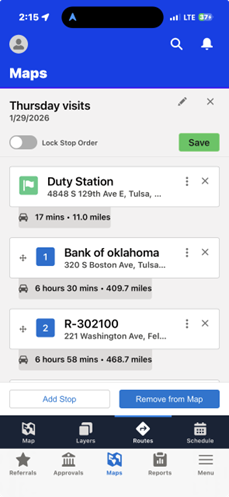
- A menu will display, select “Take Me There”
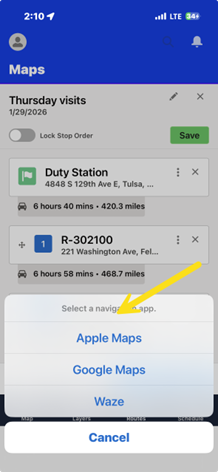
- Choose the desired mapping platform
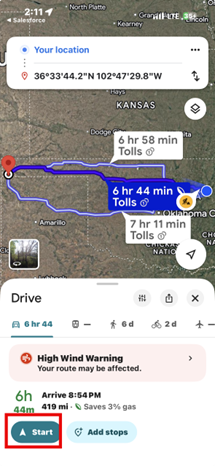
- Select “Start”
- To get back to the saved Route, go back into the Salesforce mobile app
- Make sure “Maps” is selected on the bottom banner, then “Routes” and select the Route again.
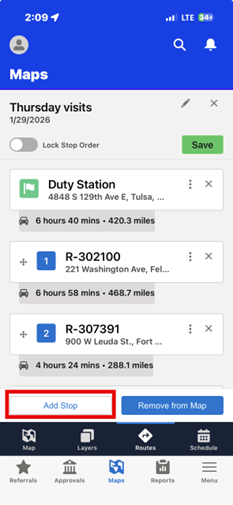
- To add a stop to the Route, Click “Add Stop”
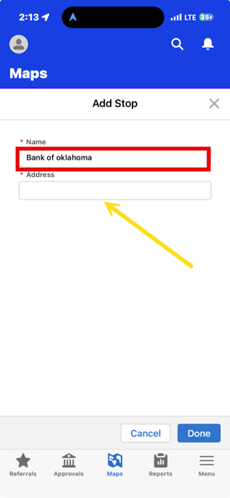
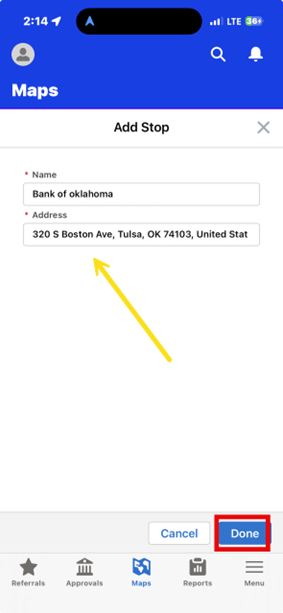
- This window will appear. The name field determines what the location will be named on the Route. Click in the address box.
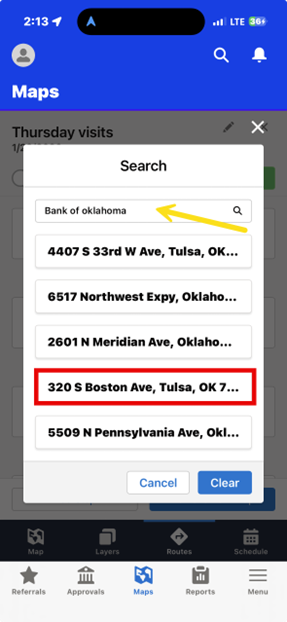
- Type in the name of the place to be visited and addresses that match that name will appear. Select one.
12. Click “Done”
- See the name of the new stop that was just added. Click “Optimize.”
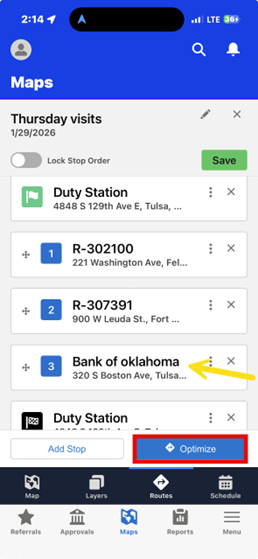
- This is the most efficient Route including the stop.