There are two methods for generating the 7 Day Contact Letter, automatically and manually. See below for instructions on both methods. Automatically generating the letter is the preferred method.
Method 1 (preferred method): Automatically generating the AV and AP 7 Day Contact Letter
- In the referral, ensure the contact record to which a letter must be sent has either an email or a complete mailing address.
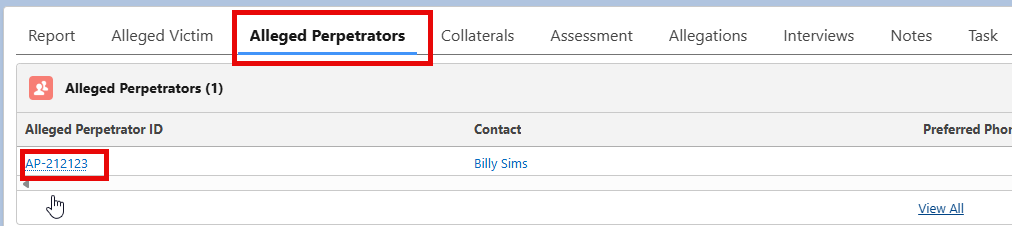
- Go to the AV or AP tab and select the AV or AP record.
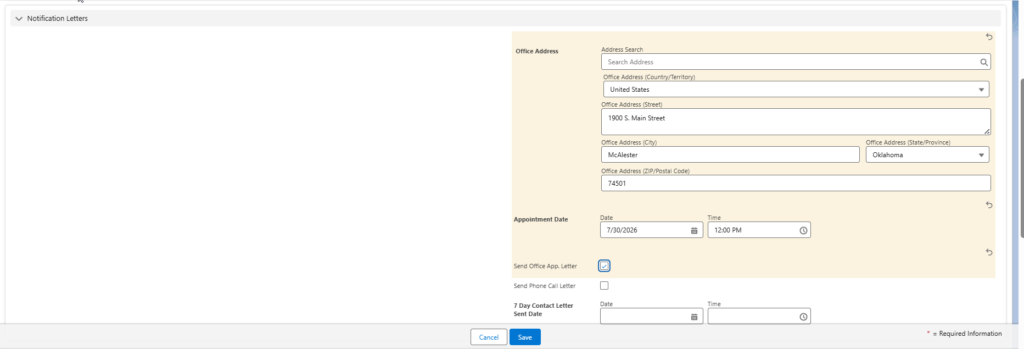
- Scroll down to the Notification Letters Section. If you want to send an Office Appointment Letter, you must fill out the Office Address and Appointment Date fields. If you want to send a Phone Call Letter, you only need to complete the Appointment Date field. Check the box to send either the Office App. Letter or the Phone Call Letter. DO NOT fill out the 7 Day Contact Letter Sent Date field, as this field automatically populates. Click Save.
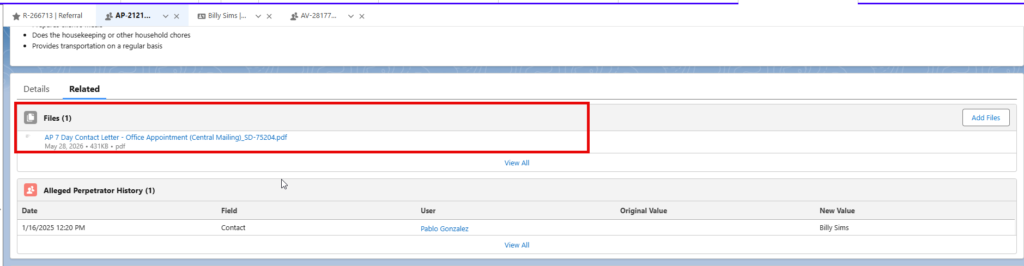
- Check to make sure the letter has been sent by going to the Files tab and scrolling down to the Related Files section.

- Another way to ensure the letter was sent is to go into the AV or AP tab, select the AV or AP record where the letter was sent and scroll down to the Notification Letters section and check the 7 Day Contact Letter Sent Date field.

- Finally, to ensure the letter was sent, go to the AV or AP tab, click the Related Tab and scroll down to the bottom of the page to the Files section.
Method 2: Manually Generating the 7 Day Contact Letter
- From Home, click on
My Referrals.
- Click on a
Referral ID.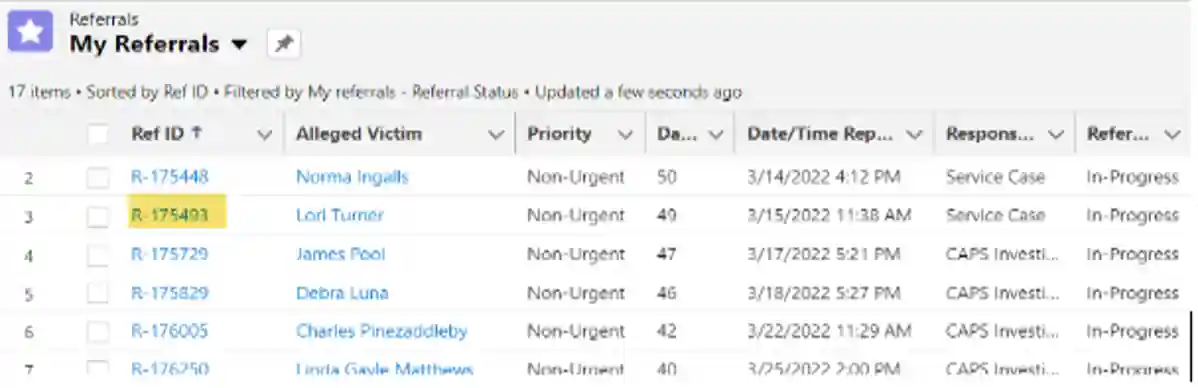
- In the Alleged Victim tab, select the AV record.

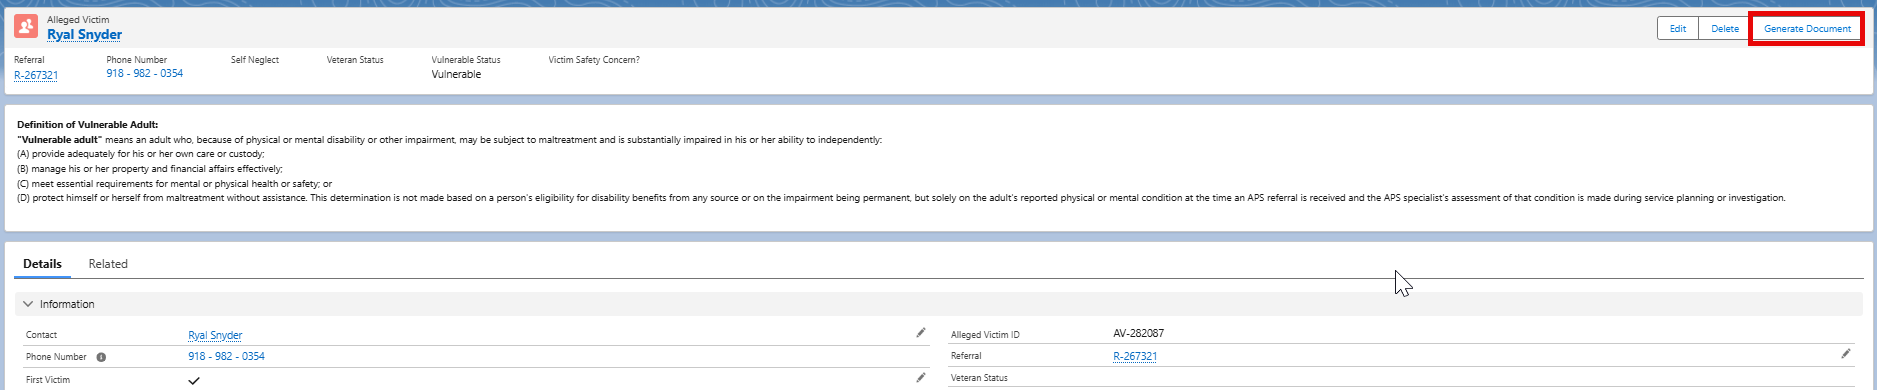
- To generate the AV 7 Day Contact Letter, click the Generate Document button.
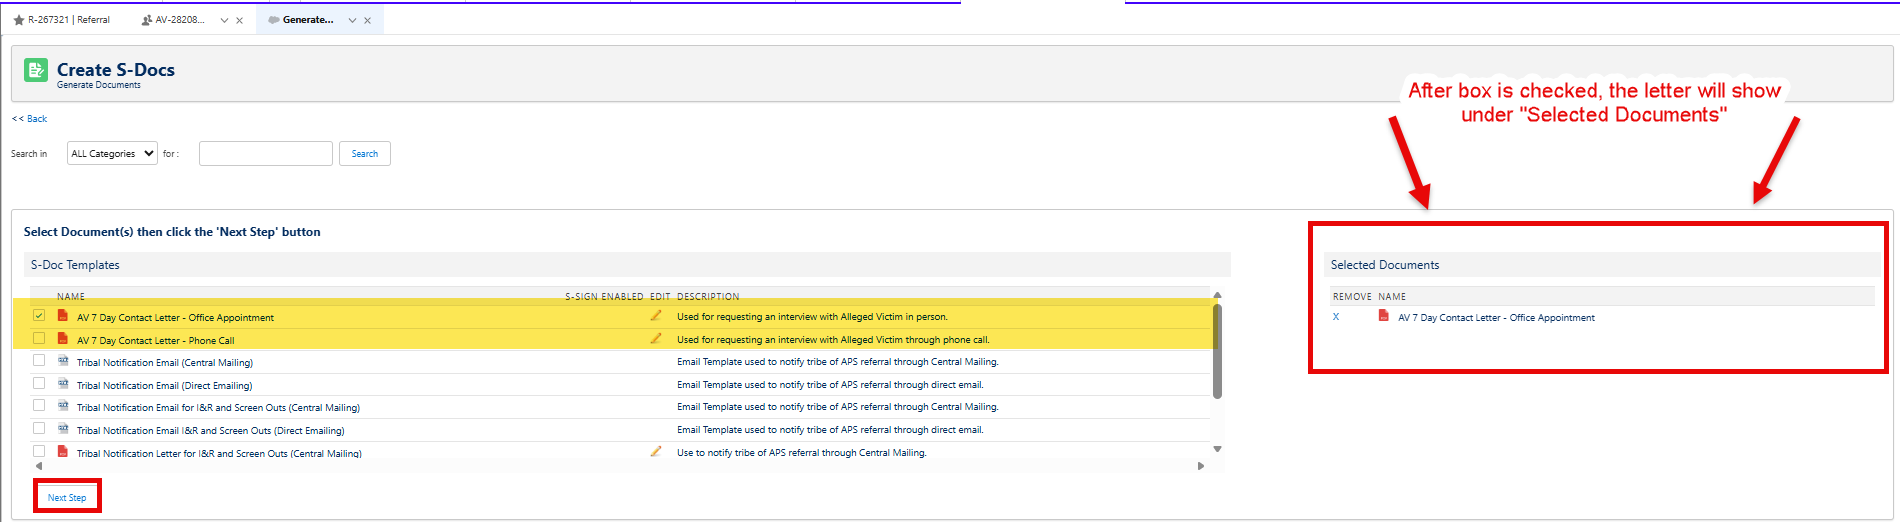
- Check the box next to the 7 Day Letter you want to generate. After the box is checked, the letter will move over into the Selected Documents section. Click “Next Step.”
- From here, you can either View the letter or use the Live Edit feature. To view the letter, click the PDF icon under
View. To edit the letter, click the pencil icon underEdit.
It is recommended to click the pencil to edit the letter first
- If you click the pencil to edit the letter, an Edit Document tab will open. Click the arrow in the bottom right corner and drag down to view the body of the letter.

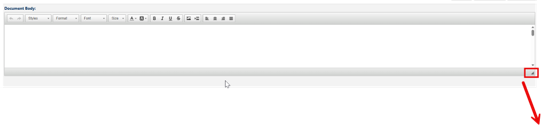
- After you click into the body, you will be able to see what the letter says. You will be able to add/edit any information. For example, you will want to edit the second paragraph to fit your needs.

- After you’ve made the changes, you wish to make, you will scroll back to the top and click
SavethenClose.
- After you click
Close, you will be back on the Create S-Docs screen. Now it is time to click the PDF icon to view the document.
- The letter will be viewable as a PDF in a new tab. From here, you will download the letter to email it to centralized mailing.

